Cisco ACI Simulator APIC Initial setup

If you already read my last post How to run Cisco ACI Simulator on KVM host you know that now we need to do first step and go through Cisco APIC initial configuration setup. If you need help this post is right place for you. So let' go and see what we need to do.

Note:
Cisco ACI simulator doesn't support data plane and you won't be able to connect any
other VM which can represent End Point. Simple you will not be able to issue ping
command and send ICMP request and see any ICMP reply or use any other protocol for testing purpose.
1.VM is booting

2.If you have recommended HW resource use large topology otherwise your choice is “N”.

3.After few seconds it will appear this nice logo.

4.For ACISIM I would like to recommend to accept all default parameters. All parameters you can change but in that case there is no guaranteed that Cisco ACI simulator will work properly.

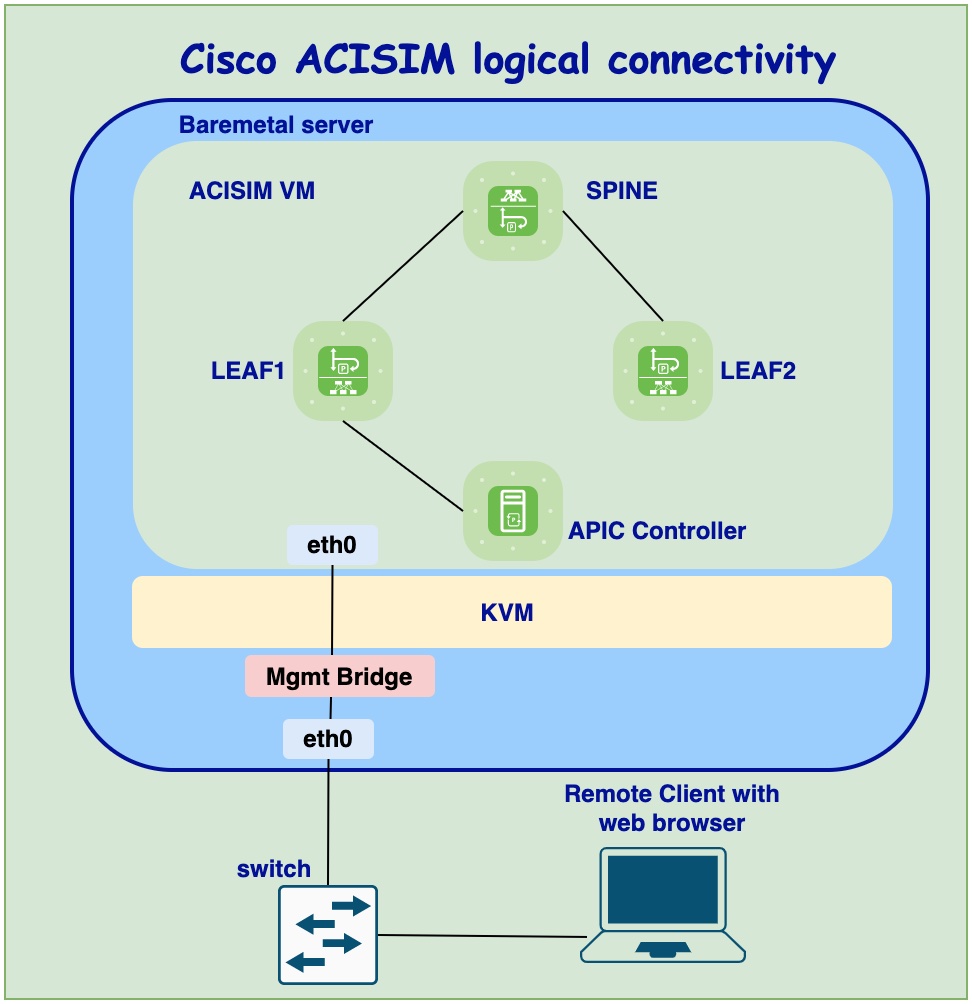
5.One of parameters what actually you should change is default OOB subnet and gateway. Choose IP address/Subnet mask from your OOB lab network and set in this step. Later you will use this IP address for access APIC UI via HTTPS.

6.Please set admin password and don’t forget, later you will need for login to APIC UI 😉

7.Here you have chance to change any configuration parameter what you set during initial configuration.
If you are self confident and you put password on the sticky note on your desk you just press “ENTER”

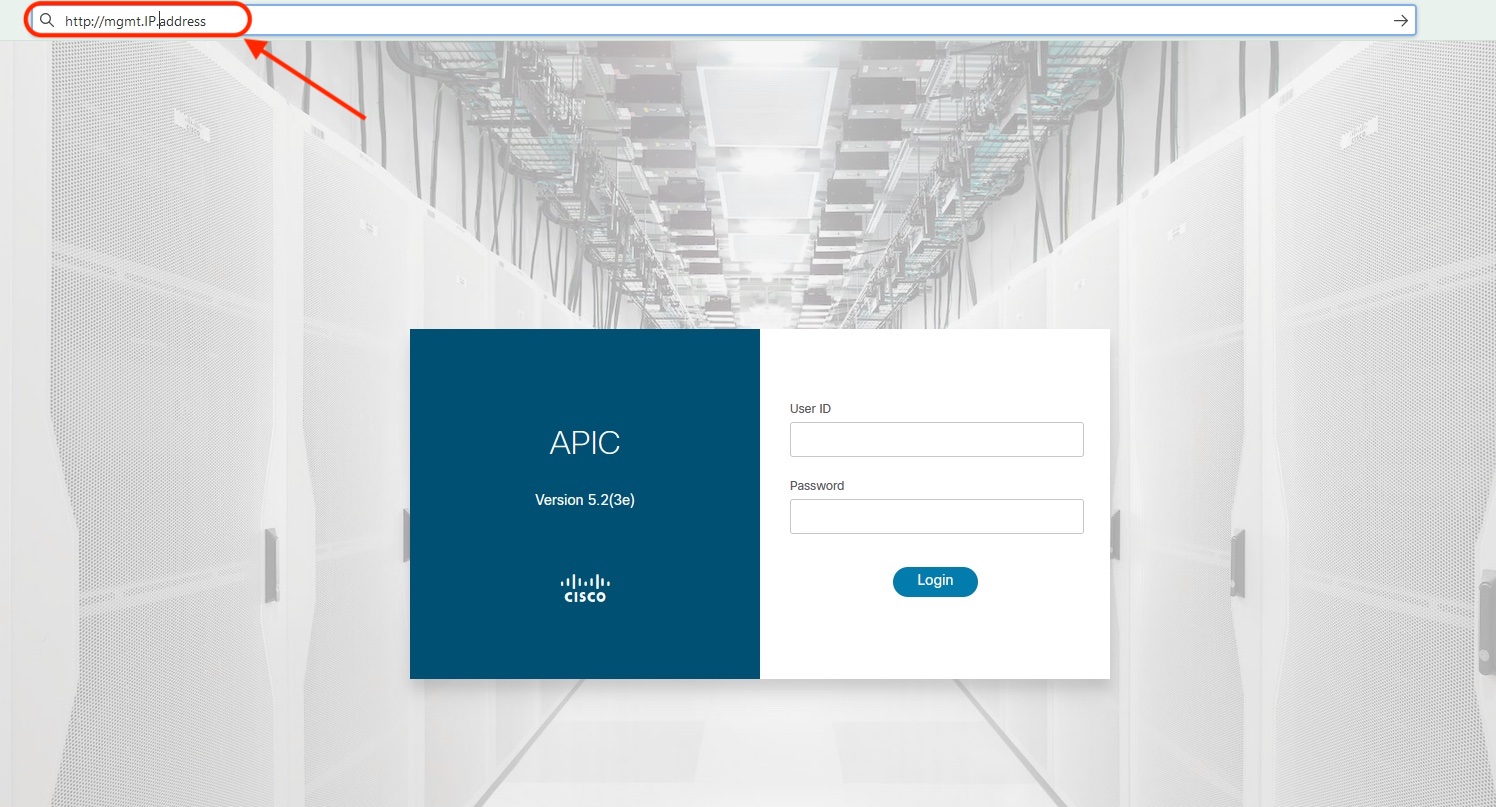
8.In your favorite browser type https://oob.ip.address what you set during initial configuration.
When APIC login page appear for User ID use admin and for password use note from your sticky note from your the desk.

Final Part 2 coming soon! Are you enjoyed reading? If yes please subscribe Here